
How to Mod the Sony WH-1000XM6 for Ultimate Sound Isolation
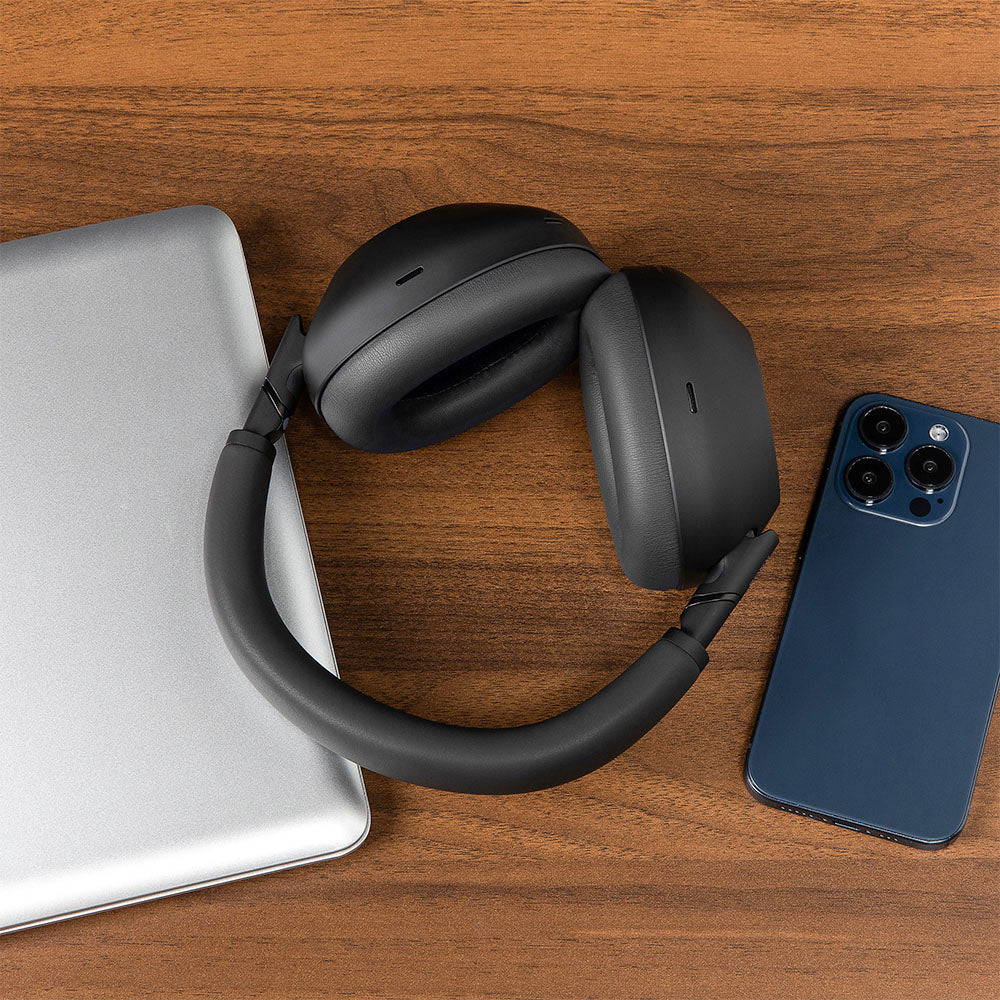
The Sony WH-1000XM6 is the latest update in the Active Noise Cancelling series. Six generations of fine tuning isolation through digital signal processing makes it a great pick for those who need some quiet.
But even with all that cutting-edge processing power, Sony’s flagship headphones have a hidden bottleneck: their stock earpads.
Active noise cancellation can only do so much heavy lifting. If the physical, passive seal around your ears isn't flawless, external noise bleeds in, and your sub-bass escapes. If you want to unlock the absolute maximum isolation potential of your XM6, you need a quick hardware upgrade.
Fortunately, you don’t need a soldering iron or a degree in audio engineering. You just need the right gear and about five minutes. Here is how to easily mod your Sony WH-1000XM6 for ultimate isolation, deep bass, and a premium fit.
The Core Problem with Stock XM6 Pads
To keep the headphones as lightweight as possible, Sony ships the XM6 with relatively thin, low-density foam wrapped in standard synthetic leather. While comfortable when you first slip them on at the store, these stock pads present a few distinct drawbacks over time.
First, there’s the issue of pad compression. The XM6 has a notoriously secure, firm clamping force. Over a few weeks of heavy use, the thin stock foam compresses flat against your skull, causing your ears to press uncomfortably against the hard inner driver grilles.
Second, low-density foam is acoustic enemy number one. It’s highly porous. High-frequency noises—like mechanical keyboards, nearby conversations, or the hiss of an AC unit—can slip right through the material before the ANC microphones even have a chance to calculate a counter-frequency.
Finally, the stock pads struggle with seal instability. If you wear glasses, or even if you just move your head and jaw frequently, the stock pads easily deform. This breaks the airtight seal required for the XM6’s Auto NC Optimizer to function perfectly, resulting in that annoying "whispering" wind noise artifact when air leaks in.
The Solution: High-Density Upgrades
The most effective way to modify your XM6 for superior isolation is to replace those stock pads with high-density memory foam engineered specifically for the headset's acoustic chamber. By upgrading to Dekoni Audio premium pads, you introduce materials that absorb ambient noise while sealing off the ear cup completely.
Depending on your daily environment, you’ll want to choose your weapon carefully:
-
Dekoni Platinum Protein Leather: This is your top choice for absolute maximum isolation. Wrapped in an exceptionally soft, high-grade protein leather, it creates an airtight acoustic seal that locks in the bass while preserving the signature punchy Sony low-end. It's the ultimate upgrade for frequent flyers, commuters, and anyone looking for total silence.
-
Dekoni Choice Suede: If you suffer from "hot ears" during long desk sessions, this plush, vegan suede option is a game-changer. It offers incredible passive isolation but adds a layer of breathability to reduce heat and sweat buildup. Acoustically, it relaxes the upper-mids slightly for a smoother, incredibly relaxing listen.
The science here is pretty simple. Dekoni’s slow-rebound memory foam acts as a dense physical barrier. By conforming tightly to the unique contours of your jawline (even with glasses frames in the way), it forms a flawless seal. This gives you way more passive noise isolation before you even power the headset on, letting the active digital ANC do its job flawlessly.
Step-by-Step: Doing the Mod
Modding your headphones takes less than five minutes, and because Sony uses a secure plastic mounting ring system, you don’t have to deal with messy glues.
-
Remove the Stock Earpads: Slide your fingers or a plastic pry tool between the plastic base of the earpad and the main ear cup chassis. Gently pop the pad outward. You will hear a series of clean clicks as the plastic tabs release. Work your way around the perimeter until the pad comes free.
-
Clear and Inspect the Housing: Ensure the internal sensor and the microphone mesh inside the ear cup are clean and free of dust. Be careful not to tamper with or remove the delicate foam inserts protecting the drivers.
-
Align the Dekoni Replacement Pad: Take your new Dekoni pad and align the plastic mounting clips on the back of the pad with the corresponding slots on the XM6 ear cup. Double-check that the orientation matches the asymmetrical shape of the ear cup.
-
Snap into Place: Apply firm, even pressure with your thumbs around the rim of the earpad. You will hear distinct, satisfying snaps as the tabs lock back into the chassis. Give it a gentle tug to ensure it is completely flush and secure. Repeat on the other side, and you're done.
The Verdict: What to Expect
Once you slide the modded XM6 back onto your head, the upgrade is instantly noticeable.
From a comfort standpoint, the relief is immediate. Because the memory foam is deeper and more resilient than the stock padding, it distributes the XM6’s clamping force evenly across your head, entirely preventing your ears from touching the hard plastic inside.
Acoustically, the background silence gets noticeably deeper. Because the dense foam creates a true seal that doesn’t break when you move your head, your music sounds fuller, the bass stays tight, and the outside world stays completely locked out.
You bought the Sony XM6 to escape the noise. Give its industry-leading ANC the physical foundation it actually deserves.
Share:
Meet the New Dekoni Audio Audeze Maxwell 2 Ear Pads